Morse Cheat Sheet (30-60 min)
This guide covers setting up PATH with the Morse protocol. In MainNet as of 04/2020.
Table of Contents
- 0. Prerequisites
- 1. Setup Morse Protocol Accounts
- 2. Configure PATH
- 3. Run PATH in development mode
- 4. Test Relays
- Additional Notes
0. Prerequisites
- Prepare your environment by following the instructions in the environment setup guide.
- Install the pocket CLI: CLI for interacting with Pocket's Morse Network
You can use the make install_deps command to install the dependencies for the PATH stack, excluding the Pocket CLI.
1. Setup Morse Protocol Accounts
If you are setting up PATH on Morse, you can most likely SKIP THIS SECTION.
If you don't know your AATs, you should know whom to reach out to on the team.
Application Authentication Tokens (AATs) are auth tokens that allow application
clients to access the network without the need to expose their private keys.
Once you have one or more valid AATs, you can populate the configuration files required to run the full PATH Gateway instance.
The following resources are also good references and starting points:
- What are AATs?
- Host a Gateway on Morse
- pocket-core/doc/specs/application-auth-token.md
- pocket-core/doc/specs/cli/apps.md
- Gateway Server Kit instructions (as a reference)
1.1 AAT Generation
We strongly recommend following the resources above.
However, assuming you have have worked with Morse in the past and have access to a staked application, you can follow the instructions below.
tl;dr Use at your own risk copy-pasta commands
Get the source code:
git clone git@github.com:pokt-network/pocket-core.git
cd pocket-core
Build your own pocket-core binary:
go build -o pocket ./app/cmd/pocket_core/main.go
Generate an AAT:
./pocket-core create-aat <ADDR_APP> <CLIENT_PUB>
Take note of the output:
{
  "version": "0.0.1",
  "app_pub_key": <APP_PUB>,
  "client_pub_key": <CLIENT_PUB>,
  "signature": <APP_SIG>
}
So you can prepare a configuration like so:
morse_config:
  # ...
  relay_signing_key: "CLIENT_PRIV"
  # ...
signed_aats:
  <ADDR_APP>:
    client_public_key: "<CLIENT_PUB>"
    application_public_key: "<APP_PUB>"
    application_signature: "<APP_SIG>"
2. Configure PATH
2.1 Generate Morse Config
Run the following commands to generate a Morse config at local/path/.config.yaml:
# Generate ./e2e/config/.morse.config.yaml
make morse_prepare_e2e_config

# Copy to ./local/path/.config.yaml
make morse_copy_e2e_load_test_config_to_local

# IMPORTANT: In the next, step, update ./local/path/.config.yaml
2.2 Verify Configuration
You'll need to manually update these fields in the config file:
url- A URL to a full Morse node (e.g.https://pocket-rpc.liquify.com")relay_signing_key- The private ed25519 key associated withCLIENT_PRIVwhen you ranpocket-core create-aat <ADDR_APP> <CLIENT_PUB>abovesigned_aats- The output ofpocket-core create-aat ...above
Check your updated config:
cat ./local/path/.config.yaml
It should look similar to the following with the required fields filled out:
morse_config:
  # Your Morse configuration
  url: "your-morse-endpoint-url"
  relay_signing_key: "CLIENT_PRIV"
  # ... other Morse specific configs
signed_aats:
  <ADDR_APP>:
    client_public_key: "<CLIENT_PUB>"
    application_public_key: "<APP_PUB>"
    application_signature: "<APP_SIG>"
Do a manual sanity check of the configuration to ensure everything looks correct before continuing.
If you are an employee of Grove, look for PATH - Morse - Test - E2E Config in 1Password and use that file here.
2.4 (Optional) Disable QoS Hydrator Checks
By default, the QoS hydrator will run checks against all services that applications configured in the morse_config.signed_aats section are staked for.
To manually disable QoS checks for a specific service, the qos_disabled_service_ids field may be specified in the .config.yaml file.
This is primarily useful for testing and development purposes. It is unlikely you'll need this feature unless you are customizing QoS modules yourself.
For more information, see:
To see the list of services that PATH is configured for, you can use the /healthz endpoint.
curl http://localhost:3069/healthz
3. Run PATH in development mode
3.1 Start PATH
Run PATH in local development mode in Tilt by running:
make path_up
You can stop PATH stack by running:
make path_down
3.2 Monitor PATH
It could take a few minutes for the PATH stack to start up the first time.
You should see an output similar to the following relatively quickly (~30 seconds):
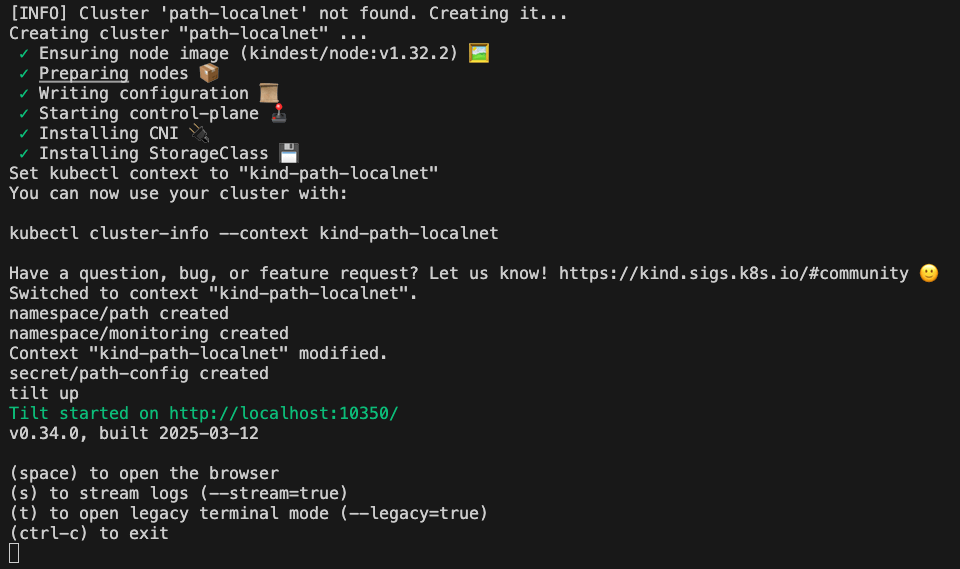
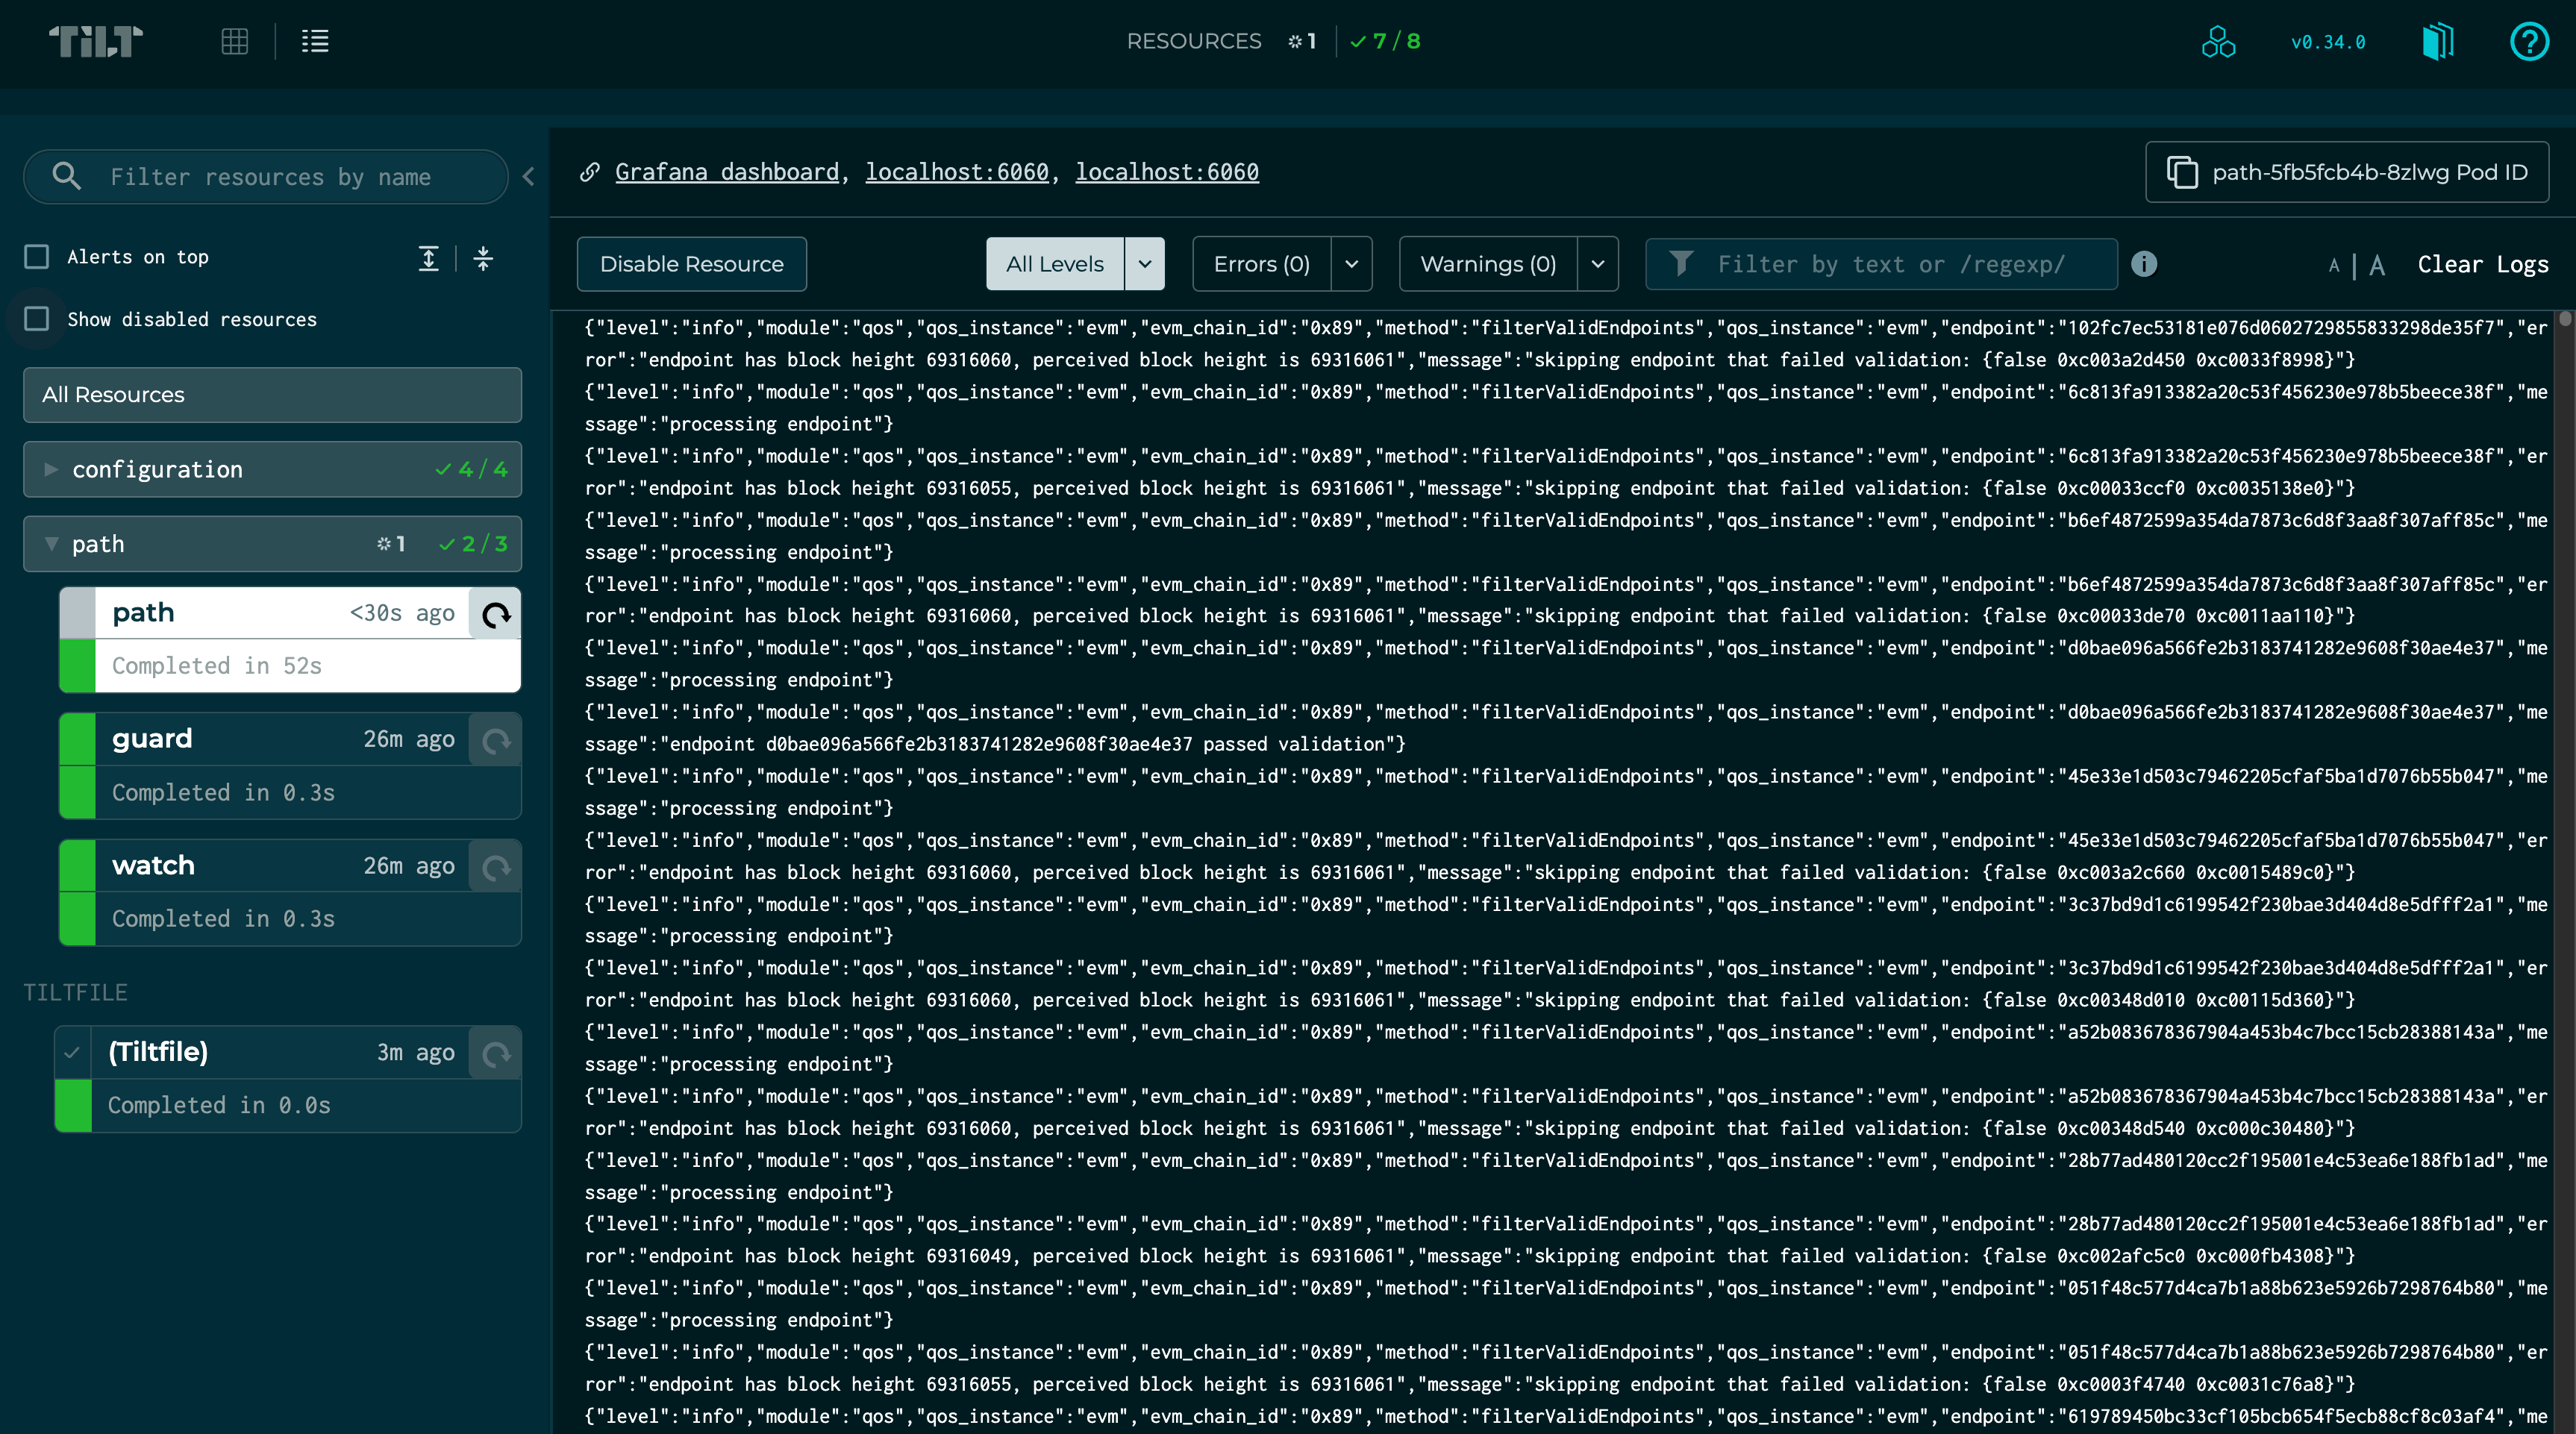
Once you see the above log, you may visit localhost:10350 to view the Tilt dashboard.
4. Test Relays
tl;dr Retry the requests below if the first one fails.
The instructions above were written to get you to access an F00C (Ethereum MainNet) node accessible on Pocket Network.
Since F00C requires a production onchain stake, there is a chance it may not be available.
We recommend you try the instructions below a few times to ensure you can get a successful relay. Otherwise, reach out to the community on Discord.
Test Relay with curl
curl http://localhost:3070/v1 \
  -H "Target-Service-Id: F00C" \
  -H "Authorization: test_api_key" \
  -d '{"jsonrpc": "2.0", "id": 1, "method": "eth_blockNumber" }'
And you should expect to see a response similar to the following:
{"id":1,"jsonrpc":"2.0","result":"0x2f01a"}%
Test Relay with make
For your convenience, we have provided makefile helpers to test relays with curl and jq.
You can find these in the makefiles/test_requests.mk file.
For example, to mimic the curl command above, you can simply run:
If requests fail, retry a few times as you may hit unresponsive nodes.
make test_request__morse_service_id_header
To see all available helpers, run:
make help
Load Testing with relay-util
You can use the relay-util tool to load test your relays.
The following will send 100 requests to the F00C node and give you performance metrics.
make test_request__shannon_relay_util_100
Add a screenshot of the output.
Additional Notes
- The Morse protocol setup process is more manual than Shannon
- Pay close attention to field names in configuration files
- Keep your configuration secure as it contains sensitive information
- For troubleshooting, consult the Gateway Server Kit instructions